Quick Getting Started With Your First Skeletons
Step 1: Clone the Style Guide
Start by cloning the style guide project. It comes with a clean Client-First setup and all the Webflow variables that Skeletons depend on. We’ll talk more about the style guide in the next chapter.
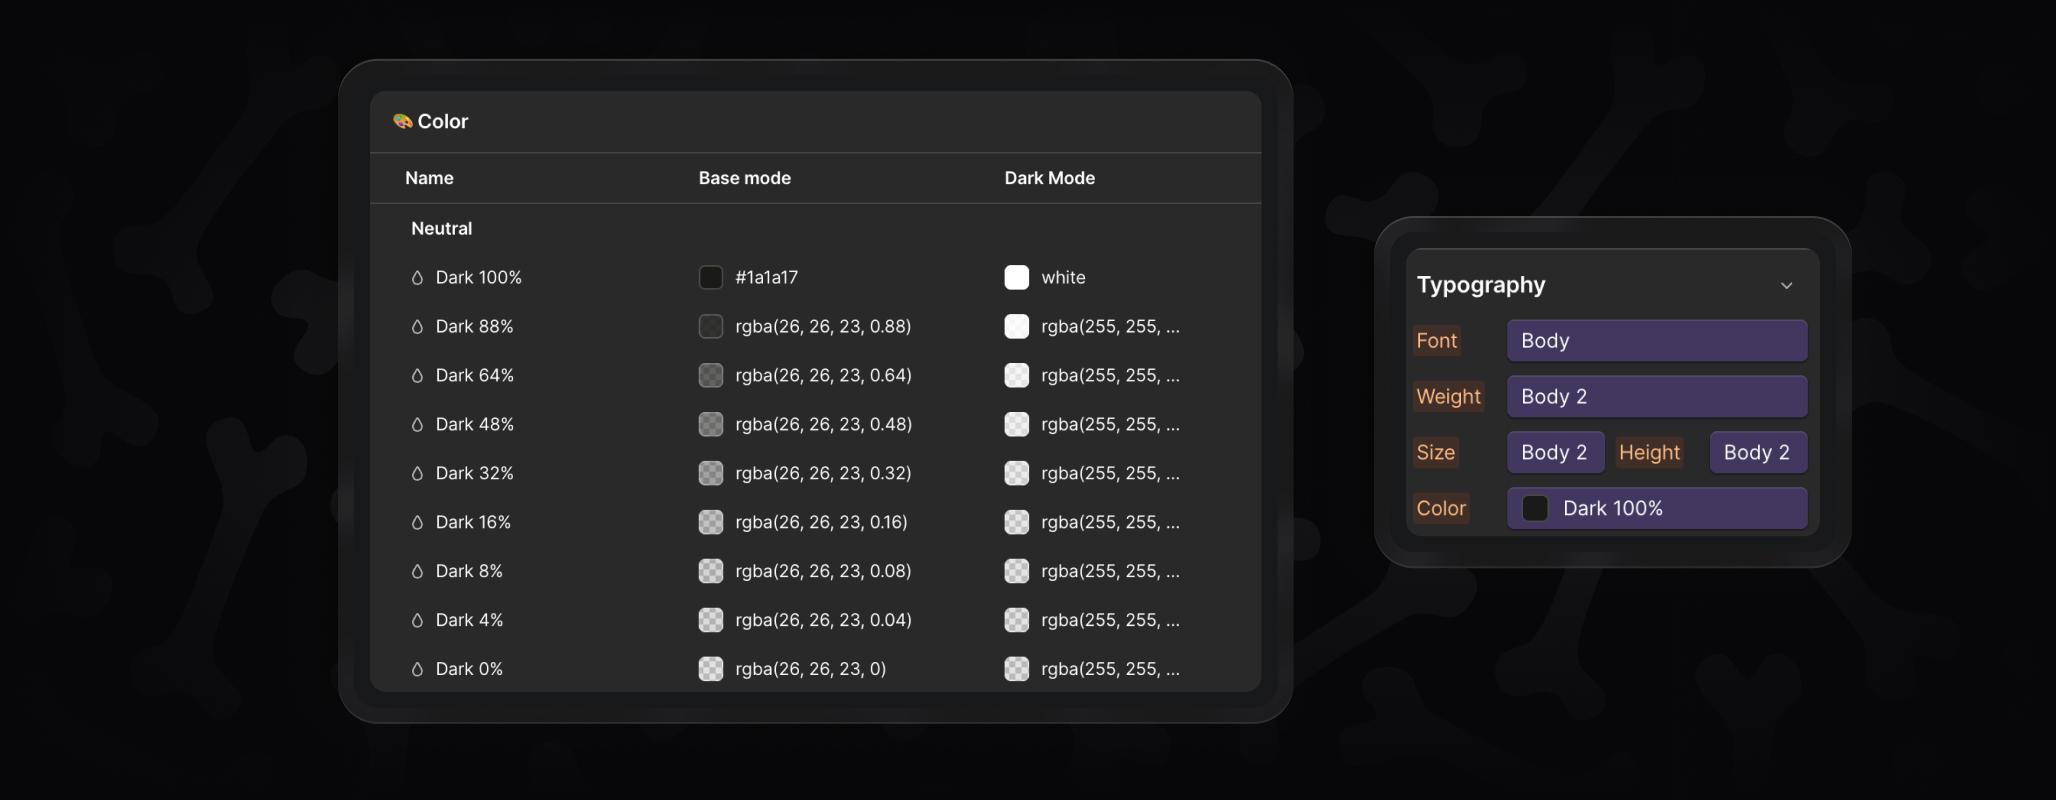
Step 2: Update Your Variables
Make the project yours by updating the variables. Change layout, typography, colors, radius, or icons, and your brand style flows through the entire project. The next chapter, Variable Anatomy, will dive deeper into how variables work and which ones matter most.
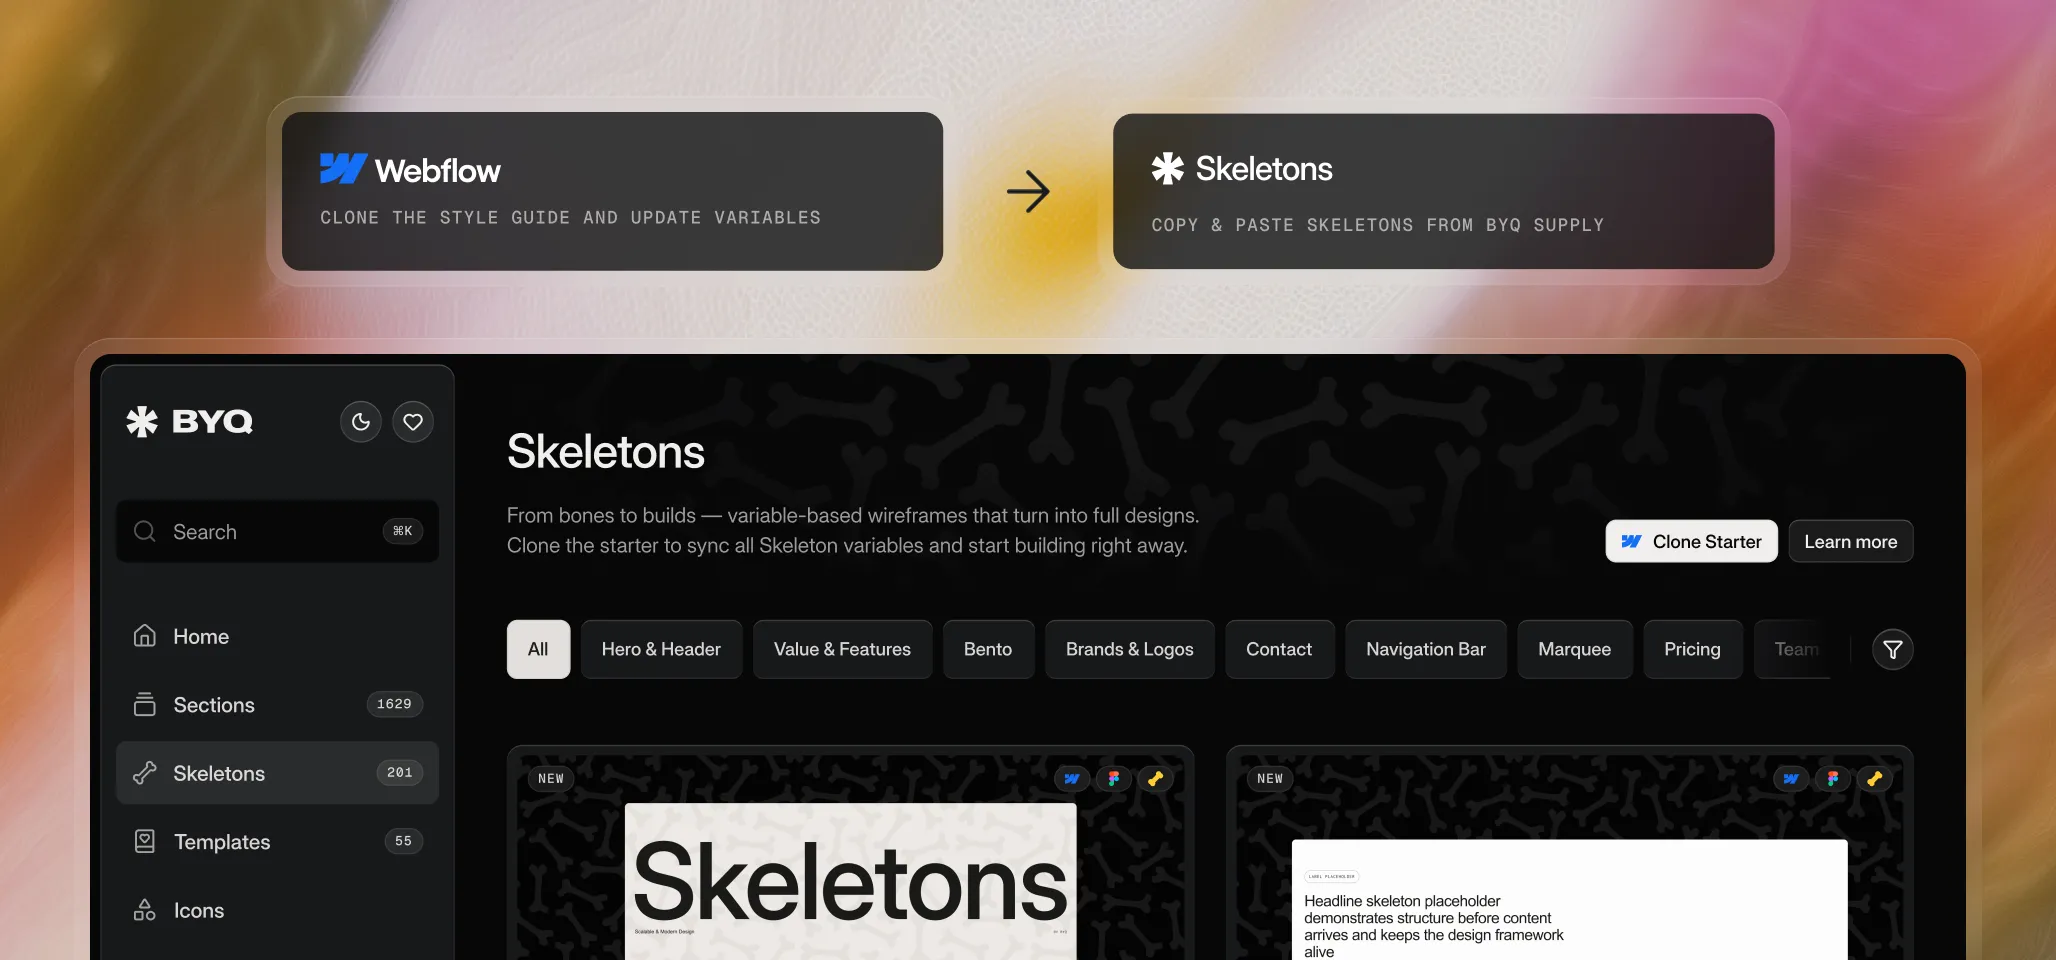
Step 3: Choose Your Skeletons
Go to BYQ Supply and explore the Skeletons library. Use filters like Hero, Contact, Features, or Intro Text, plus layout and animation filters to find exactly what you need.
Step 4: Paste Them Into Your Project
Copy the Skeletons you like and paste them into your cloned style guide project. Because everything is tied to variables, they’ll instantly adapt to your brand.
Quick Flow Recap
- Clone the style guide
- Update your variables
- Choose Skeletons from the library
- Paste them into your project
That’s all it takes to get started – a clean, scalable setup without the class clutter or manual restyling.