Skeletons in Action
Once you’ve set up your clonable and started pasting in Skeletons, there are a few important things to understand about how they work in practice. Think of this as your “good to know” guide for building smoothly.
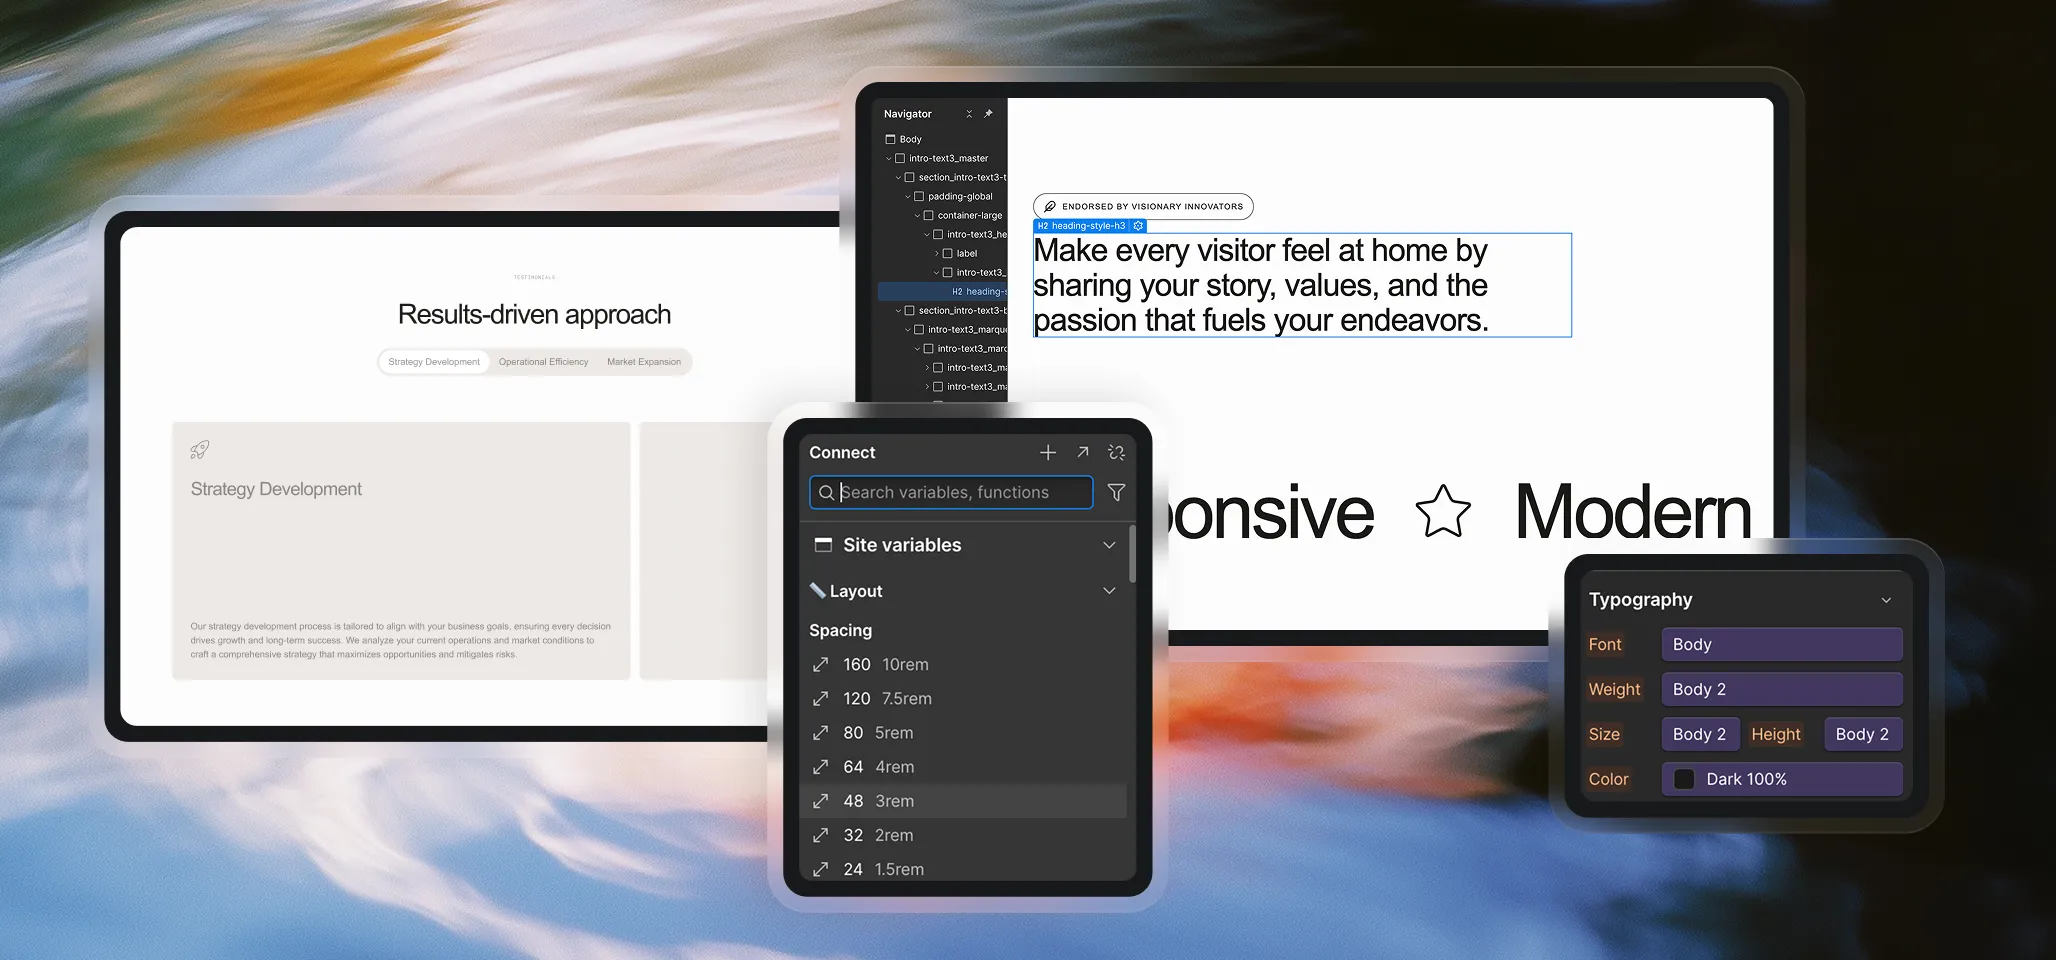
What Happens When You Paste a Skeleton
Each Skeleton section comes with classes already applied. These fall into two groups:
- Global Classes – These are the shared classes that come from the style guide itself, like [class]heading-style-h1[/class], [class]text-align-center[/class], [class]label[/class], or [class]button[/class]. They are consistent across the whole project and show up in multiple Skeletons.
- Section-Specific Classes - These are unique to each section and easy to recognize. For example, if you paste Hero 2, you might see classes like [class]hero2_content[/class] or [class]hero2_image-wrap[/class]. These classes only exist for that one Skeleton and won’t affect others.
The key rule is simple:
- Global classes should never be edited directly. Their styling is controlled by variables.
- Section-specific classes are safe to edit however you like.
Why Not Edit Global Classes?
If you manually change a global class, next time you paste a section that includes this class, Webflow will treat it as a variation and create a duplicate (e.g., [class]label[/class] becomes [class]label 2[/class]). That leads to messy, inconsistent styling across your project.
Instead, if you want to tweak a global element (like adjusting the padding on labels), use a combo class. For example, add [class]is-custom[/class] to your [class]label[/class]. This way, the base label class stays untouched, and you can apply your custom version wherever needed — without duplication.
Freedom With Section-Specific Classes
Section-specific classes are yours to control. You can change their properties, disconnect variables, or add custom values as needed. Because they only exist for that one section, you won’t run into duplication issues.
Dark Mode and the theme-dark Class
Skeletons also come ready for dark mode. Each color variable has both a base mode and a dark mode value. By default, Skeletons use the light theme, but you can switch any section — or even a whole page — into dark mode.
To do this, simply add the [class]theme-dark[/class] class:
- Apply it to a [class]section_section-name[/class] if you want just that area to flip.
- Apply it to the [class]page-wrapper[/class] if you want the entire page in dark mode.
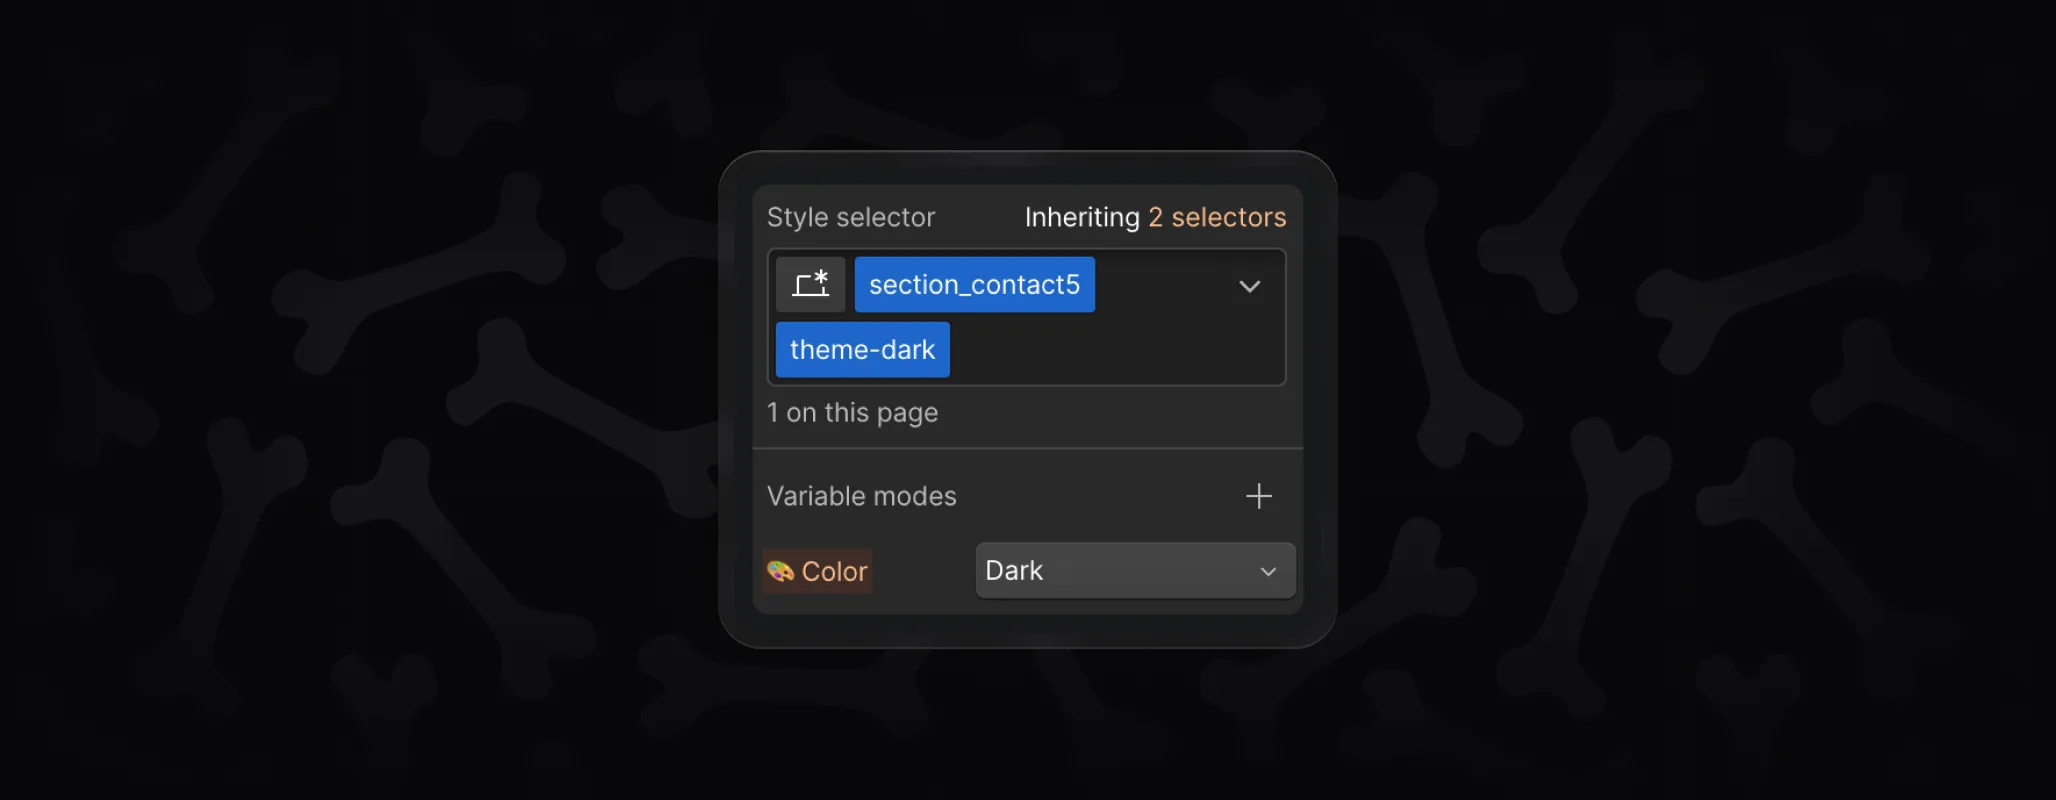
This switches your project to the dark variable set automatically, as long as you’ve filled out your dark mode colors in the variables.